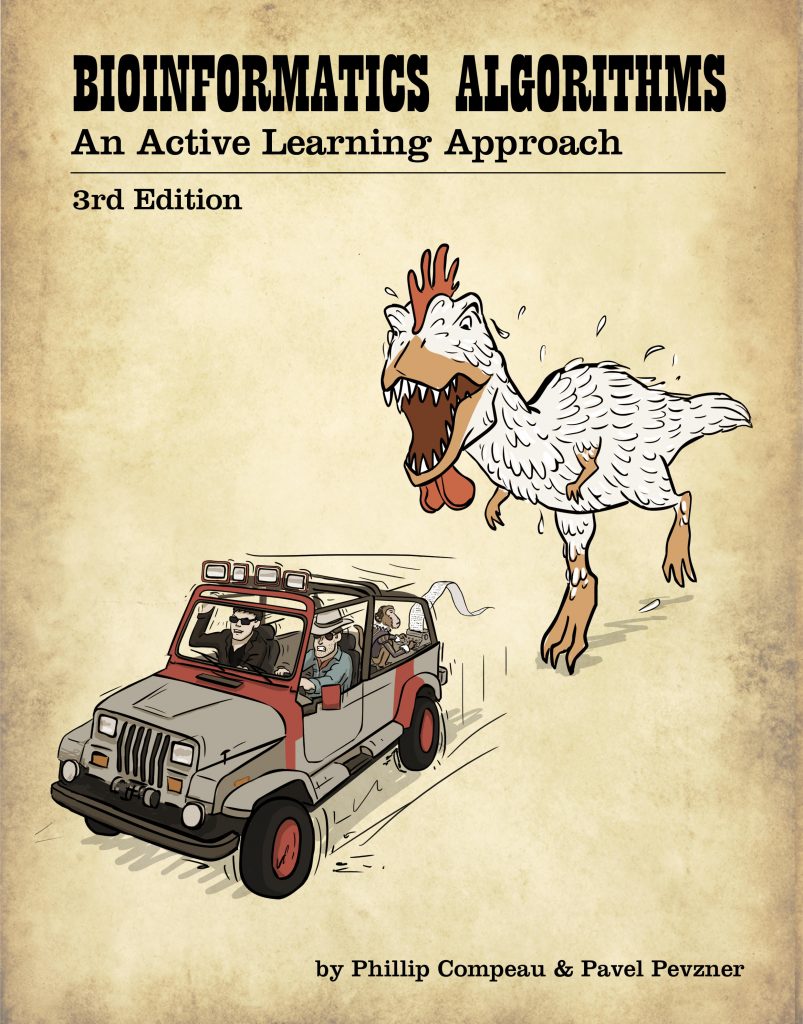
This post describes my setup and workflow for completing the Bioinformatics Algorithms online courses, based on the book by Compeau and Pevzner.
Course Introduction
Bioinformatics is computing and algorithms applied to problems from biology. Modern microbiology is a field with huge amounts of data generated from DNA sequencers, mass spectrometers, scanning/tunneling microscopes and other instruments. These data have significant measurement error and are often too large to tackle directly (for instance, direct approaches to even basic sequence alignment problems require more computational time than the age of the universe).
So, bioinformatics blends computer science, information theory, graph theory, probability and statistics and biology to develop new techniques for analysing biological data to answer biological questions.
I found a series of courses and a textbook centered on bioinformatics and decided to dive in as a blend of personal and professional enrichment. Bioinformatics Algorithms is very popular for studying bioinformatics algorithms (as in, not just learning how bioinformatics software works, but actually being able to implement the algorithms yourself). This is what I was interested in; biology is my weakness so courses aimed at explaining the software to biologists would miss the mark for me.
The authors took advantage of the online medium to support a variety of different learning styles, goals, timeframes and budgets. There are four types of educational content (detailed at the end); you can mix-and-match or use them all. I believe most users who choose this particular course are interested in the programming aspect. I describe how I approach that next.
If you skip to the bottom, you can see my opinions on reasonable mix-and-match combos. The next section describes specifically how I set up my Python environment for tackling coding exercises (2 and 4).
My setup
- Language: Python 3
- Environment: Jupyter Notebook
- Package Manager: Conda (miniconda)
- Packages: Pandas, numpy, graphviz, parse, flake8, black (my environment.yaml)
- Editor: You can use any, but I use VSCode with Vim bindings or Vim
My template is available here.
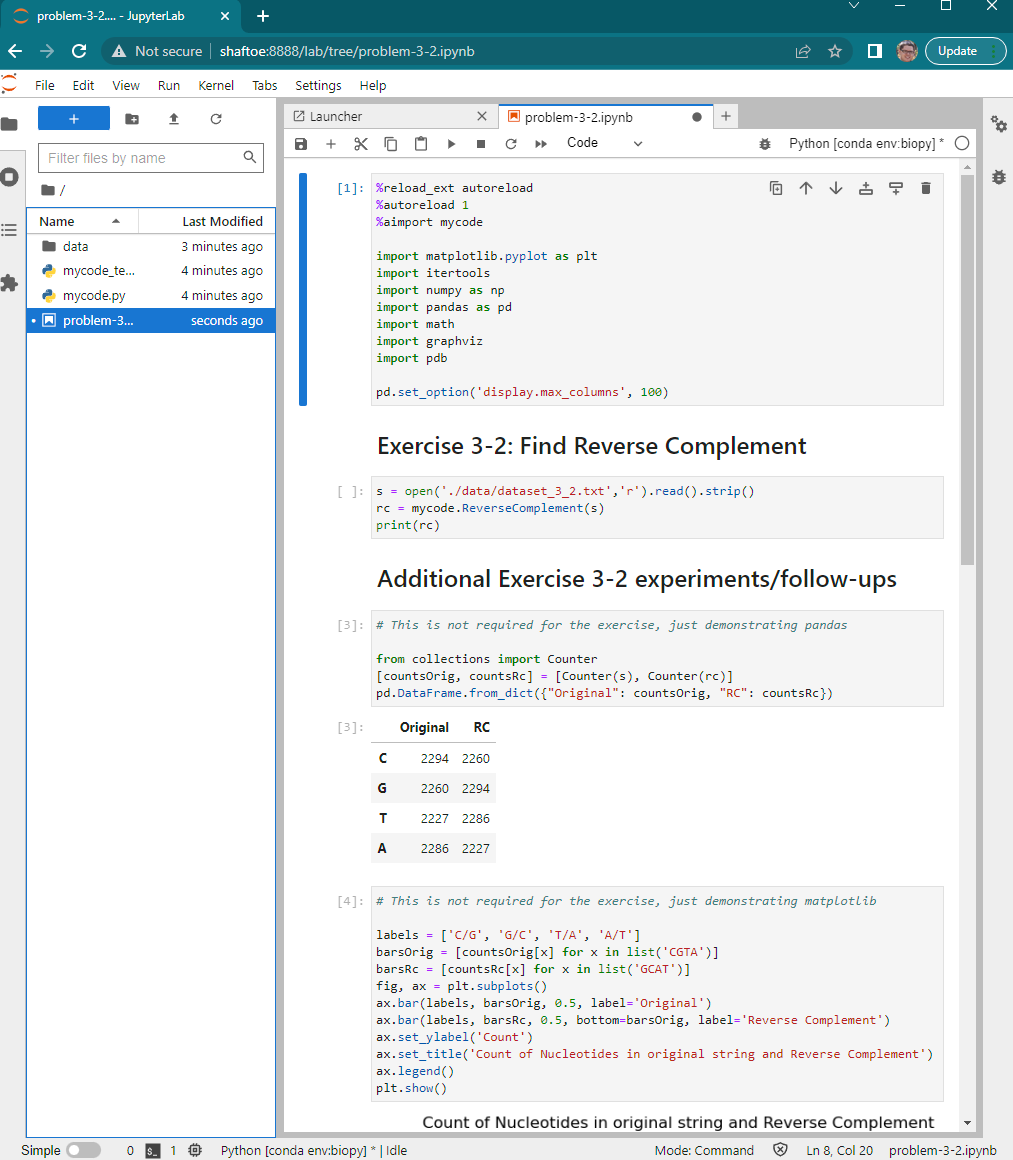
To organize, every course has its own folder. Every problem has its own notebook in that folder (so problem-102-9.ipynb corresponds to https://stepik.org/lesson/102/step/9). All the algorithm implementations go into a file called mycode.py, because sometimes algorithms are re-used from problem to problem. This isn’t the python packaging format, because algorithms are almost never used across different courses.
The notebooks have “driver” code - parsing the input, running the algorithm, generating plots.
I copy some boilerplate to the beginning of each problem:
1
2
3
4
5
6
7
8
9
10
11
12
13
%reload_ext autoreload
%autoreload 1
%aimport mycode

import matplotlib.pyplot as plt
import itertools
import numpy as np
import pandas as pd
import math
import graphviz
import pdb

pd.set_option('display.max_columns', 100)
The first three lines are jupyter magic that tell it to autoreload mycode.py, which means changes are reflected immediately when I re-run the cell (I don’t have to restart the jupyter python kernel).
Autoreload is not applied to all the other modules like matplotlib or pandas because those don’t change. Autoreloading very large modules slows down cell execution.
pdb is the python debugger, a single-step debugger built in to python. It works with Jupyter. There may be better debugging setups but this one is very familiar to me. I typically put pdb.set_trace() wherever I want to break and re-run. It is also typically included in mycode.py for the same reason; again you’d never leave import pdb in a module you were redistributing but it’s expedient for our purposes.
The rest are libraries I just always want at my fingertips. Here’s what it looks like when I use it:
How the Course Works
If you’re using Stepik (or Coursera, which links out to Stepik), then you spend a lot of time implementing algorithms and then testing them against the autograder. If the autograder passes your algorithm, you get a green check box, some points, a sense of satisfaction and you get to move on to the next problem.
The autograder presents input to your algorithm (you can either copy-paste or download an ASCII text file). Your algorithm returns some ASCII text, and you either copy-paste it to the solution box or upload it (sometimes the output is large). The autograder checks if your solution is valid and gives you a green check box or a red x. You get to try again infinitely many times.
A few notes about the environment:
You can use any programming language you want. You have to be able to read ASCII input (often parsing it into integers or floating-point numbers), and emit ASCII output. Python is an excellent and extremely popular choice, but R, C, and C++ seem common (judging from comments).
You don’t need massive compute power to complete the assignments. While the algorithms you build are often well-suited for enormous data sets, there are no problems where you will need multiple cores of late-gen processors or GPUs to complete. The problem sets are all small enough that you can complete them in seconds or less if you have the right algorithmic approach.
The problems come with example datasets. These are extremely helpful. Often these are small enough to work out by hand. It is much easier to debug against the example input. Autograder datasets are often large enough that it isn’t practical to work through them entirely by hand, and the autograder only says “pass” or “fail” - it doesn’t say “Input position 43 is wrong”.
The autograder is picky about formatting. If the problem says “Return the three values on one line separated by a space”, you have to do it that way. Comma-separated won’t work. Newlines between values won’t work.
The autograder can give you a “false pass”. Sometimes you may run your program once and fail the autograder. Running it again, the autograder generates a new input data set and you may pass this time. This usually indicates that there is a bug in your algorithm, but it only shows up for certain inputs. Usually if you try more times, you’ll see a mix of failures and successes (you’re allowed to continue submitting even after you pass).
There’s a student comment section. This often contains hints, especially if there’s some formatting quirk that’s easy to overlook.
There’s a small chance of ordering problems. There were a few corner cases where it appears you could have valid output, but just present things in a different order than the autograder implementation was expecting (the edges in the graph are printed in descending order from highest node or something). In general the autograder implementors tried really hard to prevent this, I think nearly all of these cases are worked out. The few that remain are pretty clearly identified in the comments.
The problems often build on each other. So you may call code from a previous problem for a future problem.
You’ll need to choose a language. If you have no strong preference, and you are familiar with Python, I’d recommend that. If you’re choosing something else, I’d recommend you consider the strength of these features:
Debugging - you’ll need to be able to step through your algorithms line-by-line.
Mathematical plotting - Not required, but it is beneficial to intuition to be able to plot results occasionally.
Notebook or REPL environment like Jupyter. Not required, but some problems don’t justify “a full program”, some problems you may want to mix plots, comments and intermediate data. Jupyter notebook is built for this kind of thing.
Different levels of using the materials
The authors took advantage of the online medium to support a variety of different learning styles, goals, timeframes and budgets. There are actually four different kinds of educational materials available:
The Bioinformatics Algorithms textbook: You can buy an online version or hardcover print. You could self-teach only from the textbook but you would face some challenges in implementing the algorithms - you wouldn’t have example datasets and solutions, so it might be hard to tell if you were right.
The Stepik online autograded course: You step through a course that blends instruction (a few pages explaining the problem or an algorithm), followed by an online problem. The online problem provides your algorithm some input (series of nucleotides, like
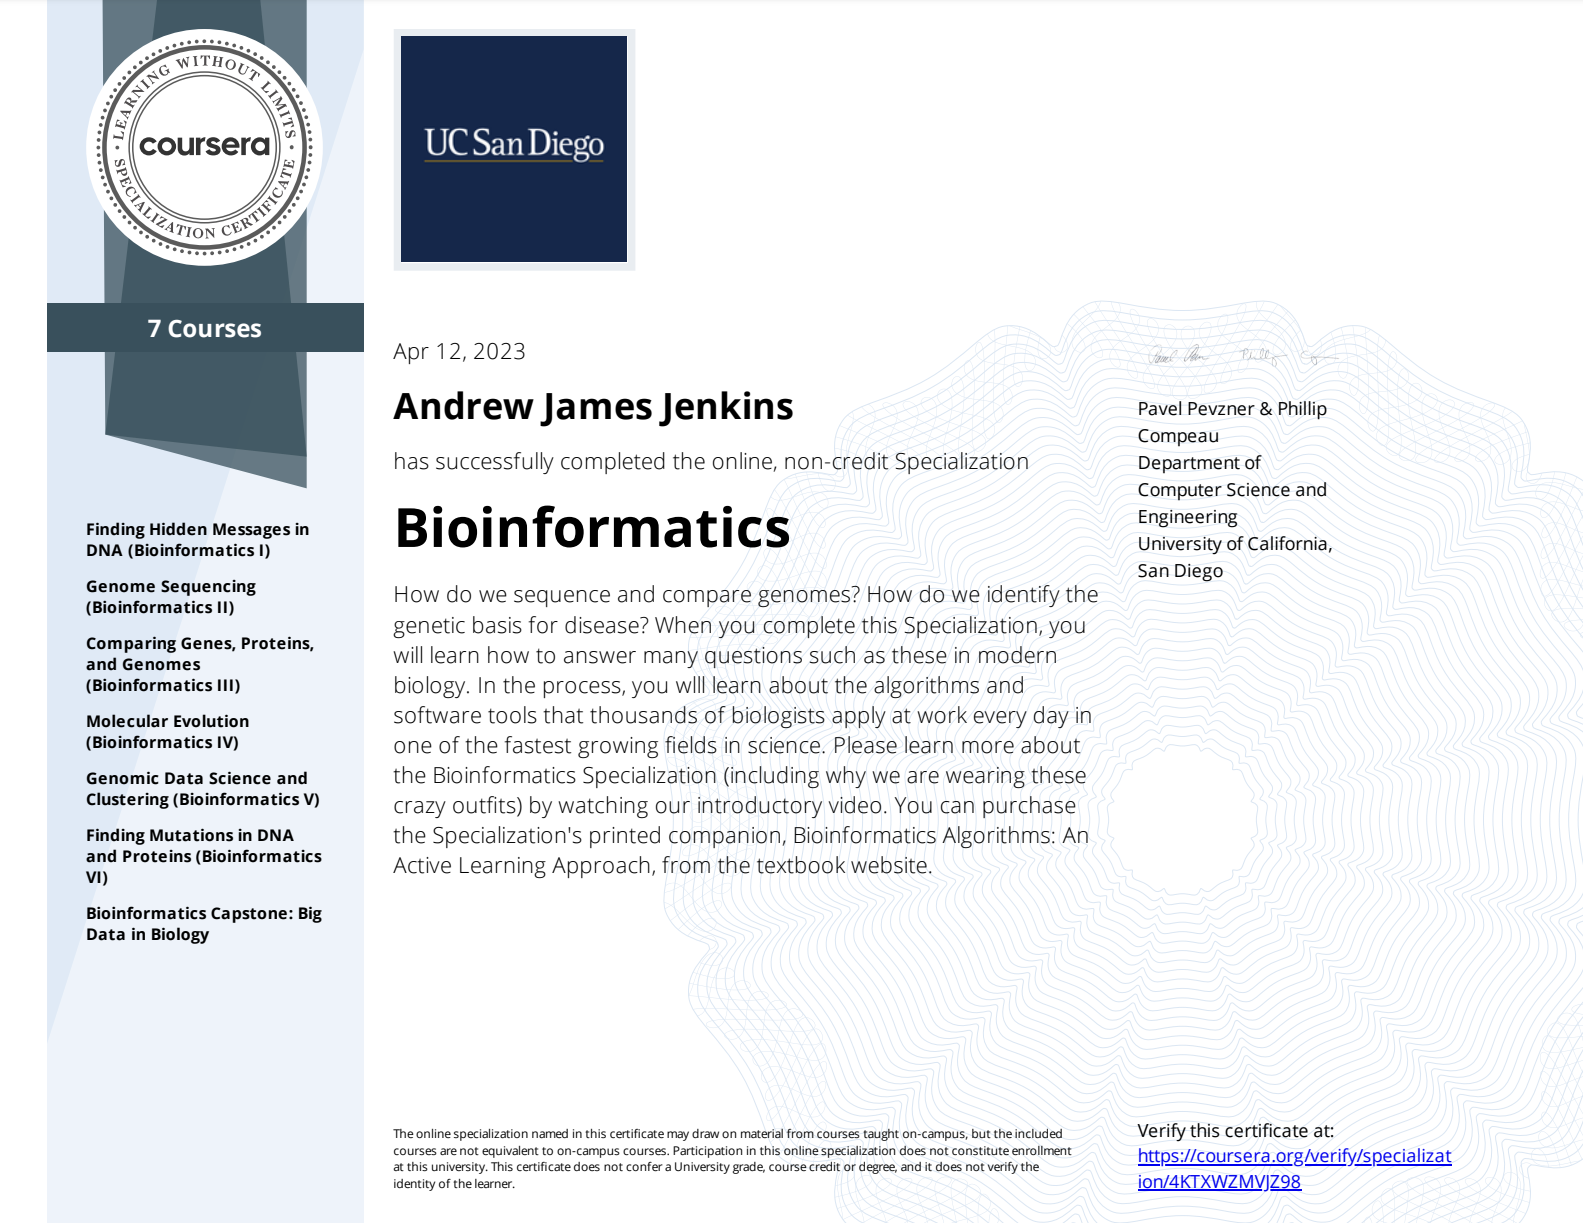
AGTCCTG) and asks you to paste back the output from your program. The course contains most of the textbook content. You could take only the course and not buy the textbook. You would miss out on some historical asides and extra explanatory content (“why is this approach NP-hard?”), but the online course contains enough to explain the algorithms and give you success implementing them.A certificate provider: Coursera wraps the Stepik course with a few additional quizzes and products, video instruction, and as well does some basic identity verification. For this, it parnered with the University of California San Diego (home institution of Pevzner and Compeau) to turn this into an online course. If you want a certificate with “UCSD” e-printed on it, you have to go through this.
Online autograded problems only: The authors also publish only the problems, example datasets and provide an autograder at a website they built called Rosalind (after Rosalind Franklin, an overlooked contributor to Watson and Crick’s double-helix fame). I believe these are the same problems as (2) online autograded course (to the point that it appears they all come from the same github repo). Rosalind is completely free but doesn’t contain much in the way of instructional material.
Some mix-and-matching is allowed to tailor to your goals/aptitudes. Here are the “packages” I think are reasonable, starting with what I did:
Formal Courses and Online Certificates: Closest to taking real graduate courses. Go to coursera, take the 7 courses in the Bioinformatics Specialization. This gives you full access to the stepik course materials and online autograder. Each course comes with a certificate from UCSD and Coursera when you complete all the work, quizzes and final assignment. You can buy the textbook if you want (I did, mainly for the historical asides, halfway through the second course).
Formal Courses but no programming: Coursera has an option for non-programmers to complete the course (this is the “without Honors” option). In this, there’s no callout to Stepik. The coursera assignments ask you to use Bioinformatics software (BLAST websites and the like), but not write it. The quizzes are tailored so that the binary trees are small enough you can manipulate them by hand, and so on. This wasn’t interesting to me. There are other courses and textbooks out there that specialize in bioinformatics for non-programmers; I’m not expert enough to have any opinion on whether this course is better than those.
Online Course: Buy the course through Stepik. Your certificate says “Stepik” instead of “UCSD”, and you take fewer quizzes and assignments (but still implement the same algorithms). You can buy the textbook if you want.
Algorithm Challenges Only: Go to Rosalind and tackle the challenges for free. I believe it will be easy to feel lost at some point during this approach, because you’re missing any sort of conceptual thread. If that happens, you should consider getting the textbook or signing up for Stepik. Rosalind is intended as a companion if you only want to pay for the textbook; I think it’s also a great try-before-you-buy.
Conclusion
I really enjoyed these courses, and completed the certification. You can see my certificates here:
- Bioinformatics I: Finding Hidden Messages in DNA
- Bioinformatics II: Genome Sequencing
- Bioinformatics III: Comparing Genes, Proteins and Genomes
- Bioinformatics IV: Molecular Evolution
- Bioinformatics V: Genomic Data Science and Clustering
- Bioinformatics VI: Finding Mutations in DNA and Proteins
- Bioinformatics VII: Big Data in Biology (Capstone)
- Bioinformatics Specialization (overall certificate)


